A professional roof installation follows a clear sequence: remove the old roofing, prepare the deck, install underlayment and flashing, lay the shingles, and finish with ridge caps and a final inspection. Skipping or rushing any step compromises the roof's performance and lifespan. Understanding this process helps homeowners make informed decisions and hold contractors accountable.
Utah's dramatic temperature swings, from freezing winters to intense summer heat — make proper roof installation especially critical for long-term durability. The state sees significant storm activity that can expose any shortcuts within just a few seasons. Homeowners across the Wasatch Front have trusted Vault Roofing for installations built to handle these demanding local conditions.
Step 1: Inspection and Deck Preparation
Every installation begins with a structural assessment of the existing roof deck. The contractor checks for rot, water damage, or weakened sheathing before any new materials go down. Damaged decking boards are replaced at this stage to ensure a solid, clean substrate.
Once the deck is sound, a waterproof underlayment is rolled out across the entire surface as a secondary moisture barrier. Drip edge metal is then installed along the eaves and rakes to direct water away from the fascia. Flashing follows at every penetration point, chimneys, vents, and valleys, as improper flashing is the leading cause of roof leaks.
Shingles are installed starting at the eaves and working upward in overlapping rows, with each course offset to prevent water from tracking through seams. Nail placement follows manufacturer specifications based on local wind zone requirements. According to the U.S. Department of Energy, reflective roofing materials can meaningfully reduce cooling costs by keeping surface temperatures lower.
Ridge cap shingles seal the roof's peak while allowing warm attic air to escape through ridge vents. Proper ventilation prevents heat buildup that accelerates shingle deterioration and affects energy efficiency. This step directly impacts both the roof's lifespan and long-term utility costs.
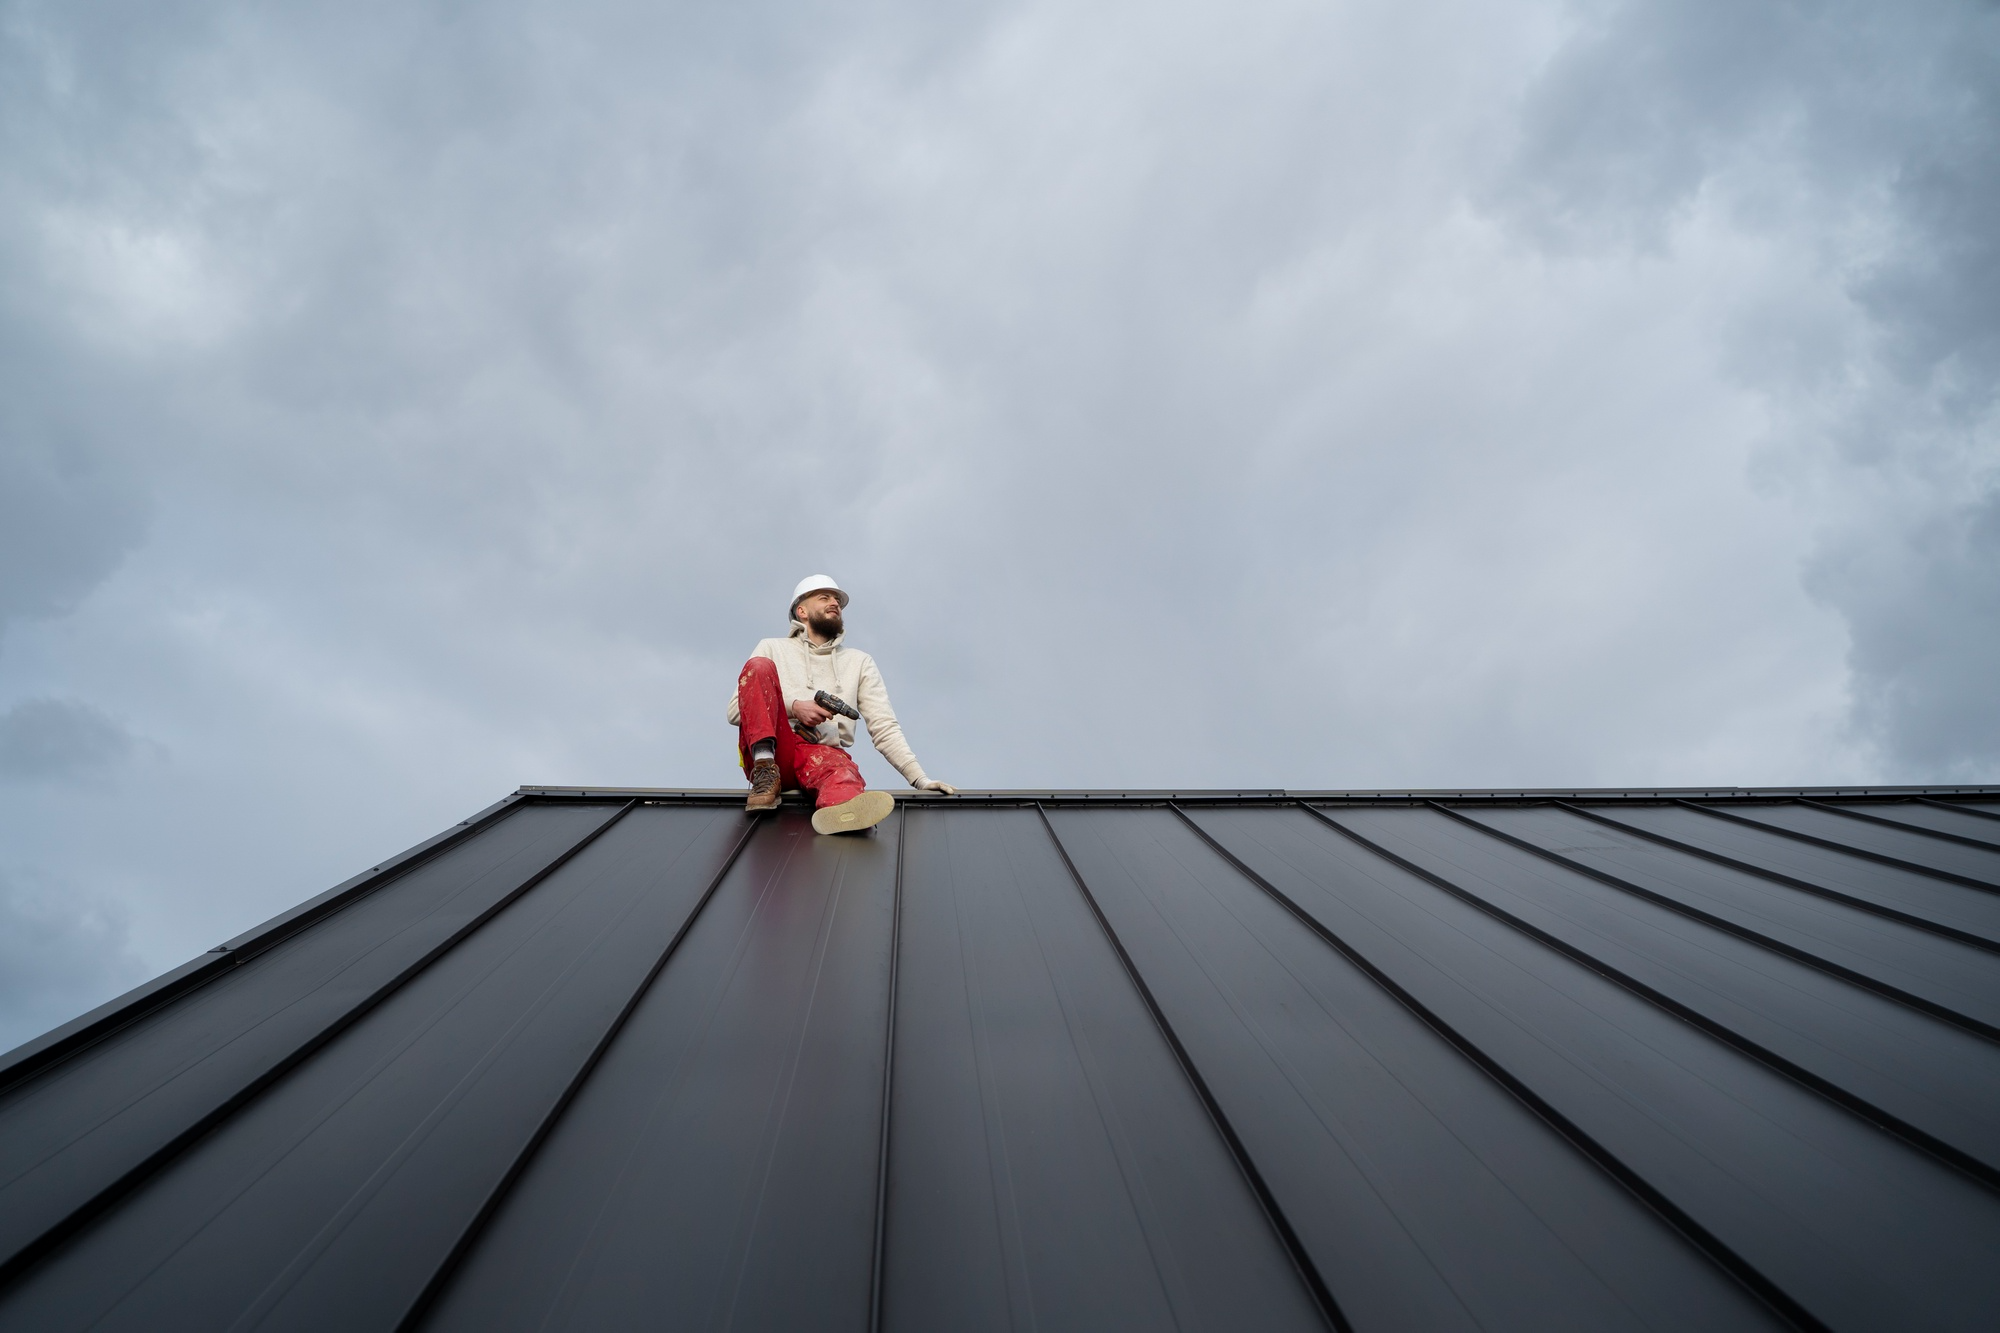
OSHA mandates fall protection for all roofing workers on surfaces six feet or more above the ground. Homeowners should confirm their contractor complies, as non-compliance signals an unsafe and disorganized crew. A final walkthrough, magnetic nail sweep, and written warranty documentation should close out every professional installation.
Key Takeaways