We’ve all been there: you’ve spent hours capturing the perfect product shot or designing a stunning graphic, only to watch it get buried in a social media feed. In an environment where movement is the primary currency of attention, static images often feel like they’re shouting into a void.
This is where Image to Video AI steps in. It isn’t just about adding "effects" to a picture; it’s about unlocking the latent narrative within a still frame. For many content creators and small marketing teams, however, the first encounter with these tools can be underwhelming. You upload a photo, type a prompt, and sometimes get a result that looks more like a fever dream than a professional video.
The secret isn’t in having a degree in computer science. It’s about understanding the bridge between a static concept and a moving reality. Here is how you can move past the initial confusion and start producing practical, high-quality video content
The biggest hurdle isn’t the technology itself; it’s the "expectation gap." When I first started experimenting with these tools, I expected the AI to be a mind-reader. I’d upload a complex landscape and simply say "make it cool," only to be disappointed when the clouds moved in a way that defied physics.
Most people struggle because they treat Image to Video AI as a magic wand rather than a collaborative partner. They often overlook three critical factors:
Once I shifted my mindset to focus on simple, repeatable workflows, the "overwhelming" part of the process vanished. The goal isn't to create a Hollywood feature; it’s to create a five-second hook that stops the scroll.
If you want to avoid the common pitfalls of AI video generation, you need a structured approach. You don't need to download heavy software or learn complex keyframing. Using a dedicated online image to video converter can streamline the entire process into a few minutes of work.
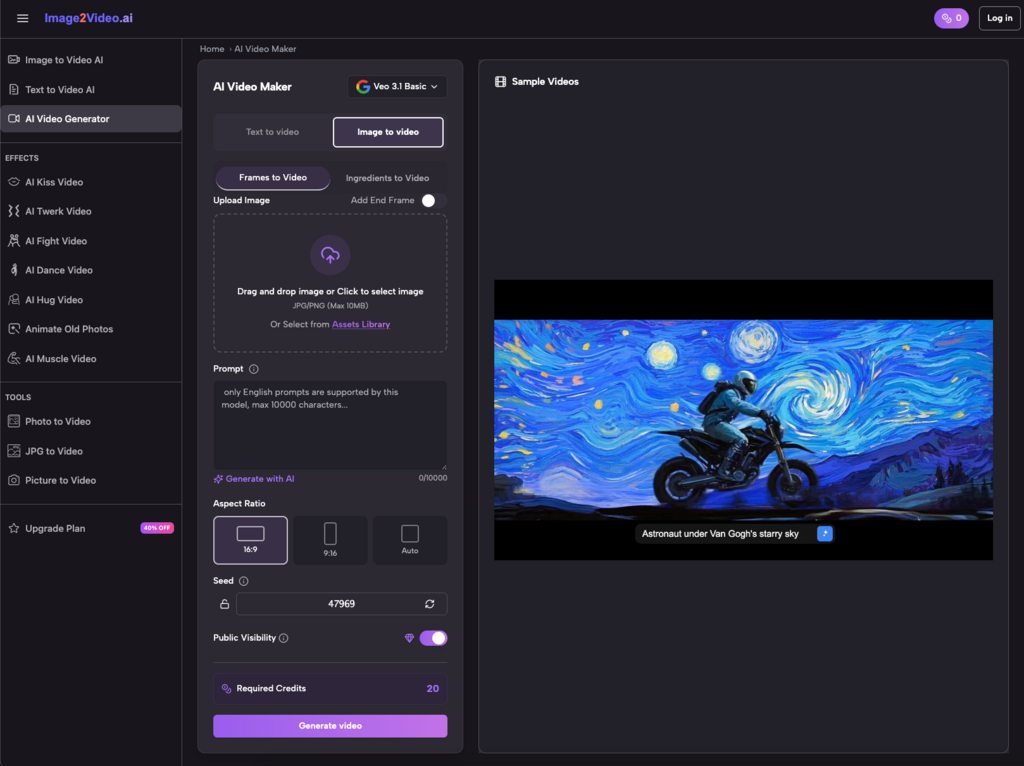
1. Curate and Upload Your Foundation
Start with a clean, high-quality image. Whether it’s a JPEG or PNG, the clarity of your subject determines how well the Image to Video AI can "mask" and animate different elements. I’ve found that images with a clear distinction between the foreground and background yield the most professional-looking results.
2. Define the Motion with Natural Language
This is where you act as the director. Instead of a single word, describe the atmosphere. If you’re using a picture to video generator for a travel shot, try something like: "Gentle waves lapping against the shore with a slow zoom-in on the sunset." The AI uses this text to map out the pixels it needs to animate.
3. Let the AI Engine Process the Request
Once you hit generate, the Image to Video AI begins the heavy lifting. It’s analyzing the depth of your photo and calculating how light and shadow should shift. This usually takes about 5 minutes. It’s the perfect time to draft your social media captions or plan your next content batch.
4. Review, Refine, and Export
When the status hits "Completed," your photo to video creation is ready. Check for smooth transitions and intelligent animations. If the movement feels right, download the MP4 and you’re ready to share.
The utility of an Image to Video AI platform extends far beyond just "making things move." It’s a force multiplier for small teams who don't have a dedicated video department.
You can transform a single product photo into a compelling video ad without a film crew. By using image to video technology, you can showcase a product from different angles or add atmospheric motion—like steam rising from a coffee cup—that makes the viewer stop and look.
Keeping a feed fresh requires a high volume of content. Instead of constantly hunting for new stock footage, use a photo to video converter to repurpose your existing library. Turn a static "Behind the Scenes" photo into a dynamic story that feels more "alive" and engaging for TikTok or Instagram.
It’s not all about business. I’ve used Image to Video AI to bring old family photos to life. There is something incredibly moving about seeing a static image of a grandparent suddenly smile or blink. It turns a flat memory into a "living" moment that you can share with family in a modern format.
After dozens of hours testing various models, I’ve realized that the "secret sauce" is often in what you don't do. Here are a few lessons I learned the hard way:
You don't need to be a developer, but knowing the "specs" helps. Most Image to Video AI platforms support standard formats like JPG and PNG. The output is almost always an MP4, which is the gold standard for compatibility.
One question I often see is about safety. Most reputable online tools use industry-standard encryption. Your photos are your intellectual property, and using a web-based image to video tool is generally much safer than downloading unverified software to your local machine.
The barrier to entry for video production has officially collapsed. What used to require a studio, a lighting rig, and hours of post-production can now be achieved with a single photo and a well-crafted sentence.
By integrating photo to video into your creative toolkit, you aren't just following a trend—you're future-proofing your content. Whether you are using a photo to video converter to boost your brand's engagement or simply to experiment with new storytelling forms, the key is to start simple.
Don't wait for the "perfect" project. Take a photo sitting on your hard drive right now, run it through an Image to Video AI generator, and see what happens. You might find that the dynamic version of your vision was only a few clicks away all along.