
ACM panels are construction and cladding materials made by sandwiching a thin core, which can be polyethylene or mineral (fire retardant), between two aluminum layers. Made of polymer and glass fibers, ACM panels are long-lasting, light in weight, and able to cope with weather, corrosion, and impact. People choose them over other materials because they are easy to maintain and have a clean appearance.
Applying ACM panels requires precision and an understanding of how the material behaves in various environments. Each method for installing the panels differs depending on where they are used, but the overall approach hasn't changed much. The process is to ready the substrate, install a subframe if needed, hang up the panels, and use proper sealants along the junctions.
Ultimately, ensuring safety, durability, and attractiveness is possible if you carefully follow the installation steps. This straightforward guide explains several steps that will help you install ACM wall panels properly.

All required tools and safety equipment are needed before installing ACM wall panels. Since you must cut, fasten, and seal ACM panels, you will need many tools to work safely and accurately. When cutting an ACM panel, the best tool is a circular saw with an aluminum cutting blade, and you should choose fasteners for your system that will fit a rivet gun or something similar.
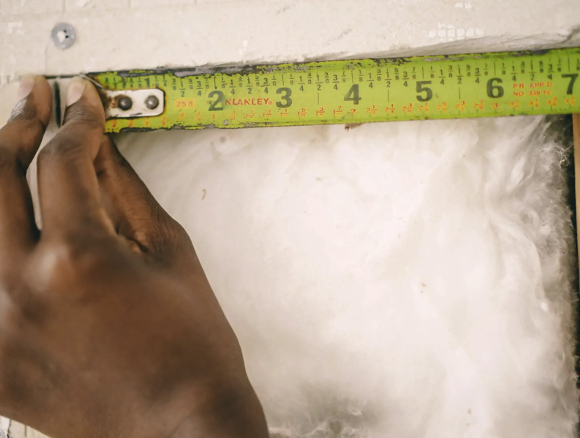
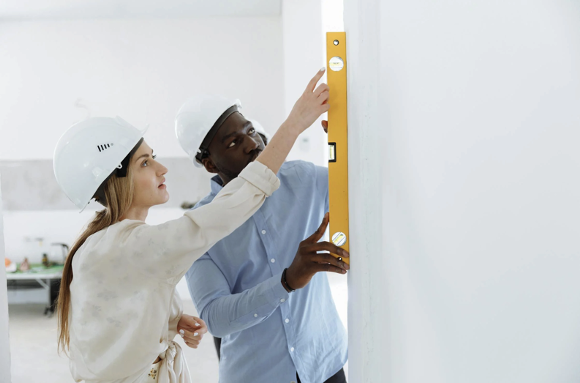
A level, a tape measure, and a chalk line will facilitate the alignment process, and a power drill with different bits will make it much easier to drill holes for the attachments. It's essential to have a high-quality sealant and caulk gun at hand for sealing joints and edges. Lifting suction cups is safer and simpler when moving big or heavy panels.
You should also focus on proper personal safety gear. Always use safety goggles to keep your eyes safe, and don't forget to wear cut-resistant gloves when you are near or touching sharp parts of the panel. Take care to use ear protection whenever handling very loud tools.
Ensuring that the substructure is well prepared is necessary before installing ACM panels to ensure the facility's long-term performance. Before anything else, look for any damage, unusual warping, or signs of moisture on the surface on which the flooring will be put. Good panel alignment and their ability to stay put require a flat, stable, and dry surface. If the weather barrier is missing from your panel system, you have to install it to shield your panels against moisture entering from outside.
You may have to set up a supporting structure when installing on surfaces such as uneven concrete, brick, or masonry. If you use aluminum or galvanized steel furring channels, you will have a strong and resistant base to mount your panels. They correct surface imperfections and ensure airflow behind the panels if needed. When you prepare the substructure well, the remaining installation is more straightforward and does not cause problems.
You must carefully measure and lay out the ACM panels to get a clean and professional finish. First, use a level and a chalk line to make uniform reference lines in the spot where you will install the flooring. Use these lines to ensure your panels are evenly spaced out so you won't have repairs later. Ensure that each vertical and horizontal line fits in, since minor errors will appear once the panels are up.
Always remember to include changes in size due to heating and cooling. Always leave a 1/4-inch (6 millimeters) space between panels to help them move with temperature changes. If you miss out on this step, your floor may get damaged and warp or buckle over time. Drawing the layout carefully at the first stage helps speed up installation by avoiding many adjustments.
You must use precise and proper tools to achieve a professional and tidy finish when cutting ACM panels. Most people use a circular saw with a carbide-tipped blade to make straight cuts. It's better to cut on the back side of the panel so as not to chip the front. It is essential to be safe, which means wearing goggles and a dust mask when cutting to help prevent aluminum dust from entering your eyes and mouth.
Put on corner guards and jigs or use special cutting templates to create symmetrical notches or complex designs in multiple panels. If the panel edges are cut with a routed-and-return method, use a CNC router or a V-groove cutter to bend the edges nicely and precisely for folding. With this approach, the finish of the cladding or front of a building is neat and polished.
After cutting the ACM panels, the following step involves mounting them safely and firmly. Always treat the panels gently to keep the surface safe from scratches. Use supination to fix your grip and stop fingerprints or smudges on the face of the plate. Work on the first row at the bottom and slowly move to the higher rows, keeping things straight and well-supported at each step.
Make sure to fasten the structure based on the manufacturer's requirements. Rivets, screws, or hidden fasteners are suggestions; always bolt or screw the installation to the flanges instead of the panel sides. This allows the house to stay clean and avoid causing unnecessary harm.
Sealing the joints and edges of ACM panels prevents water from getting through and stops possible damage to the area. For best protection, secure your panels with a UV-resistant sealant or the special tape that the manufacturer recommends. Coat the sealant over all edge joints and return so that it produces a solid barrier between water and your siding.
Avoid closing expansion joints fully, as it allows the panels to adapt to different temperatures. If the seal is too secure, the shingles might curve or bend. For better results, add backer rods to places with significant gaps.
After all the panels are mounted and tightened, carefully inspect the entire setup before thinking the job is done. Examine the whole structure from all sides and ensure the panels are level, the joints are evenly spaced, and the fasteners are well-positioned. Focus on the final sealant as well—look for any spaces between the sealant and the wall, uneven spread, or parts that could use a little more touch-up.
After you ensure all equipment is properly in place, use a soft cloth and a non-abrasive detergent to clean the panels. Refrain from using rough items or chemicals to prevent the aluminum from getting damaged.
ACM panels help protect the building from external factors and make it look better. When installing, you should plan their placement, work carefully, and equip yourself with the right tools. Always follow the manufacturer's installation recommendations. If the project is complex, consider hiring a specialist to ensure optimal results. Look after your ACM panels often, so they are attractive and valuable. Regular care stops your building from changing in appearance, improves its energy efficiency and helps you keep its value.


